There are many ways to build a drawer box, but for the sake of this blog post, I’m keeping it simple with a straightforward how-to. Keep in mind—measurements may vary slightly depending on the type of drawer slides you use. For this project, I’m using BLUM Tandem Plus BLUMOTION undermount slides. This isn’t a tutorial on installing the slides themselves, but rather a drawer box style that works well with these and most side-mount drawer slides. It’s also worth noting for this example I am using ½ inch plywood. Let’s get into it.
Step 1: Start by determining the dimensions of your drawer box. For this build, my drawer needs to be 21 inches deep and 18 inches wide. The side panels run the full depth—so they’re cut to 21 inches. The front and back panels fit between the side panels, so their width is 18 inches minus 1 inch (to account for the two ½-inch side panels), making them 17 inches wide. This keeps the final assembled width at exactly 18 inches.

Step 2: Next, determine the size of the drawer’s bottom panel. You’ll want to add ½ inch to both the width and the depth of the drawer’s interior dimensions so the bottom panel overlaps and can securely sit in the dado’s we will cut on the inside of each of the drawer panels.
In this example, the interior of the drawer is 17 inches wide by 20 inches deep (the finished drawer size minus ½ inch on each side for the thickness of the plywood). So, the bottom panel should be 17½ inches wide by 20½ inches deep.

Step 3: On the inside of the drawer panels (both side panels and just the front ), you’ll cut a dado groove starting ½ inch up from the bottom edge.
The width of the dado should match the thickness of your drawer bottom—so ½ inch wide if you’re using ½-inch plywood, or ¼ inch wide if you’re using ¼-inch plywood. (In my case, I’m using ½-inch plywood.)
In the diagram below, the dado is shown in gray.
Once all the dados are cut, you’ll make one final adjustment:
On the back panel only, remove 1 inch of material from the bottom of the panel using a table saw. When assembles the bottom of the back panel should line up with the top of the dado. This notch allows the bottom panel to slide in or out even after the drawer is fully assembled—super helpful for future repairs and refinishing.

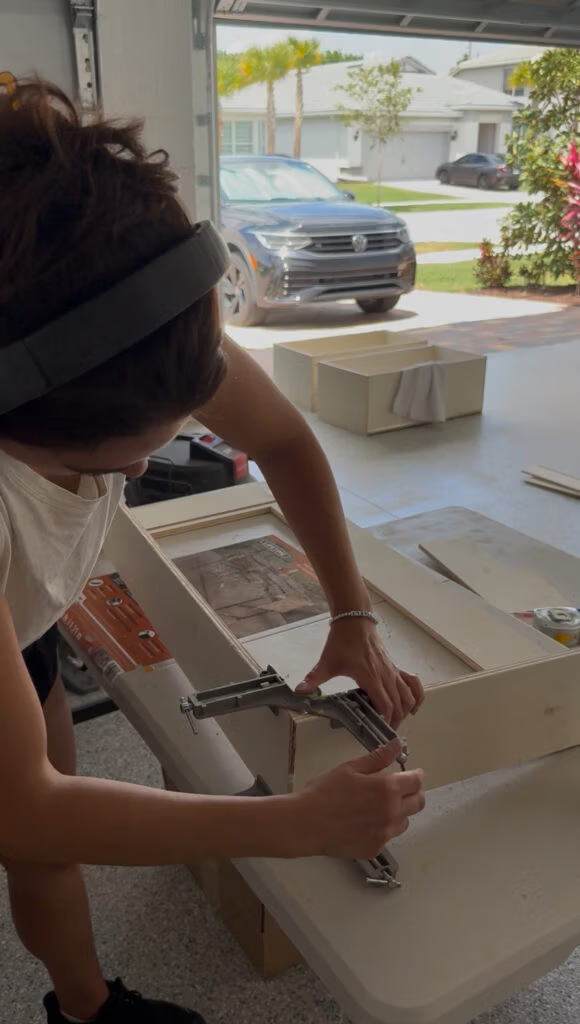
Step 4: Drill your pocket holes. To assemble the drawer, we’ll use pocket holes and wood glue.
Drill the pocket holes on the outside face of the front and back panels—not the sides. The back panel will be hidden, and the front will be covered by the drawer front, so the holes won’t be visible. This also keeps the side panels clean, which is ideal since they’ll be seen when the drawer is open.
The number of pocket holes depends on your drawer’s size, but be sure to place each hole at least 1 inch from the edge and avoid drilling into the dado groove.

Step 5: Now it’s time to assemble the drawer. Start by attaching the side panels to the front panel using wood glue and pocket hole screws. Then attach the back panel the same way.
Once the frame is assembled, simply slide the bottom panel into the dado grooves.

That’s it—a simple, sturdy drawer box! I love that the bottom panel can slide out later, making it easy to clean, paint, stain, or even wallpaper the inside.
What do you think—will you give this method a try?