Templating a countertop is easier than you might think—and I’m here to show you how.

How to Template a Countertop
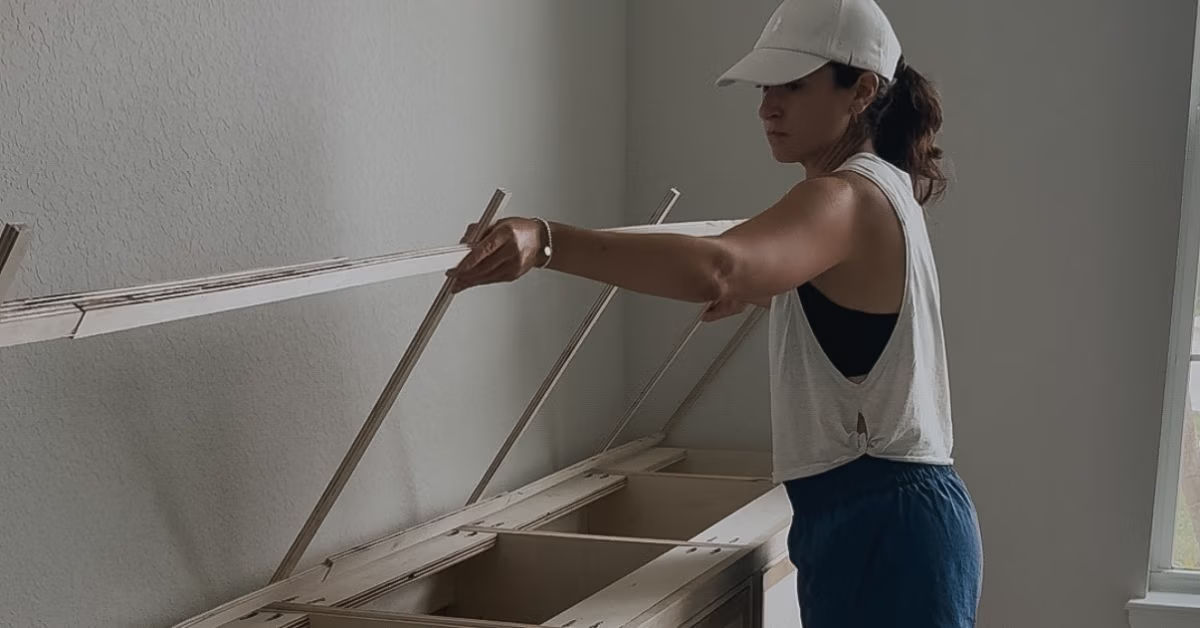
To start, grab some thin scrap wood. I’m using leftover ½”-inch plywood here.
- Lay out the template: Line the plywood pieces along the cabinet boxes and wall. This is especially important if your walls aren’t perfectly straight—this step helps you capture the exact shape.

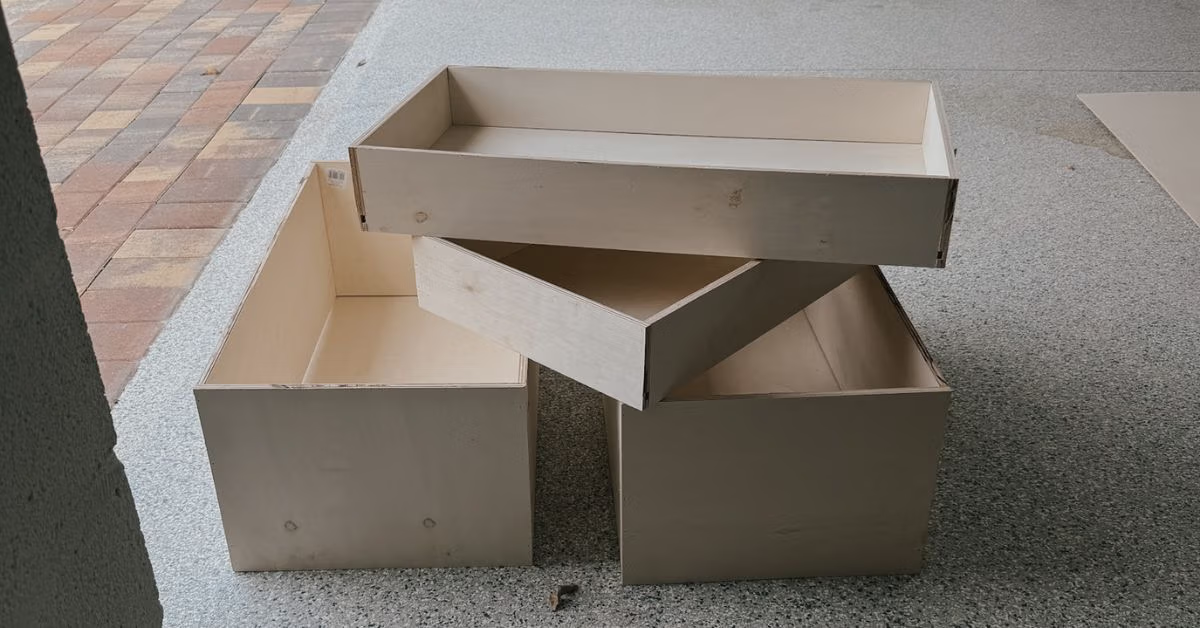
- Glue: Make sure the pieces fit snug and then glue them together to form a single, outline of your countertop. I’m using this Gorilla hot glue gun. I find it has a stronger hold than other glue guns.

- Transfer the shape: Once the glue dries, trace that outline onto your countertop material.

- Add the overhang: Add your desired overhang to the front edge. I’m adding 3/4″ because I’ll be attaching a 1×2 to the front for a custom profile edge. A standard countertop overhang is about 1.5 inches—adjust to fit your space.
- Cut and assemble: Cut your countertop from the material using your template. I’ll be using this Ryobi Jig Saw. Since my counter is large and will include a seam, I’ll cut two pieces and assemble them in place.
Why I’m Using a 1×2 for the Front Edge
Because I’m using plywood (which isn’t solid all the way through), I can’t route it for a detailed profile. Attaching a 1×2 lets me build a custom profile that adds visual weight and detail. Also having a piece of solid wood in front is stronger than any edge banding would be to cover the side of the plywood.
Let’s Talk Countertop Profiles
The profile is the visible edge of your countertop and plays a big role in the final look. This diagram gives a few common examples:

Keep in mind, the names of these profiles can vary, so when you’re working with a contractor, always bring a visual reference to make sure you’re on the same page.
Countertop Material Options
Choosing the right countertop material is just as important as the build itself. Here are a few popular options and what to consider:
- Plywood: Great for budget-friendly builds and easy to customize. Just note—it’s not solid throughout, so it can’t be routed for detailed profiles unless you attach something like a 1×2 edge.
- Solid Wood (Butcher Block): Warm, natural, and sandable—perfect for rustic or classic styles. Can be routed for detailed profiles but requires regular sealing.
- MDF: Affordable and sleek. Easy to cut, but not ideal around moisture.
- Quartz, Granite and other stones: Durable and low-maintenance, but not DIY-friendly when it comes to fabrication.
- Concrete: Customizable and modern, but heavy and prone to hairline cracking if not reinforced properly.
Tip: Your material choice affects both the tools you’ll need and the edge profile you can achieve—so consider both aesthetics and function before deciding.